On the Content Management tab of a bucket in the Kingsoft Cloud Standard Storage Service (KS3) console, you can perform the following operations:
To manage objects in the KS3 console, perform the following steps to go to the Content Management tab:
- Log in to the KS3 console.
- Click Bucket in the left navigation pane. On the Bucket list page, click the name of the target bucket. On the page that appears, click the Content Management tab.
Upload objects
Procedure
- On the Content Management tab, click File Uploading.
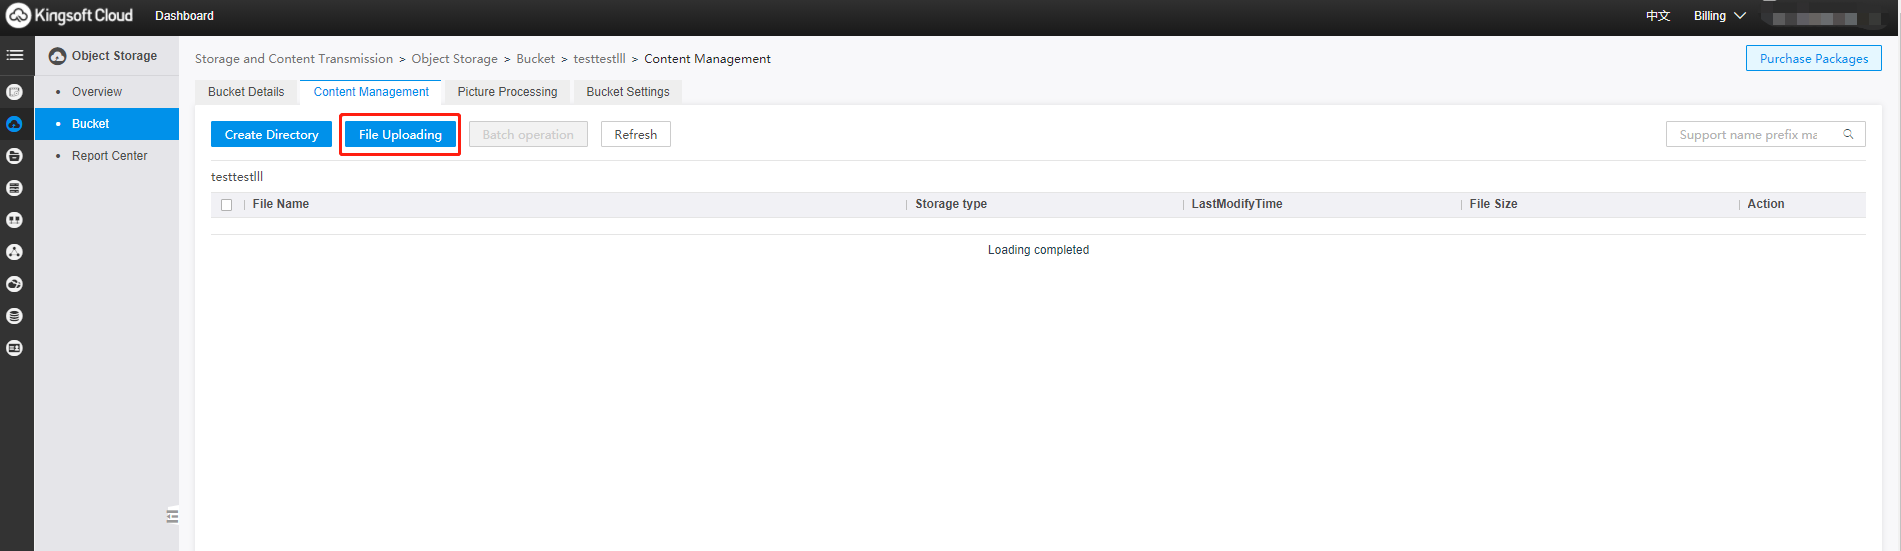
The Upload files pane appears.
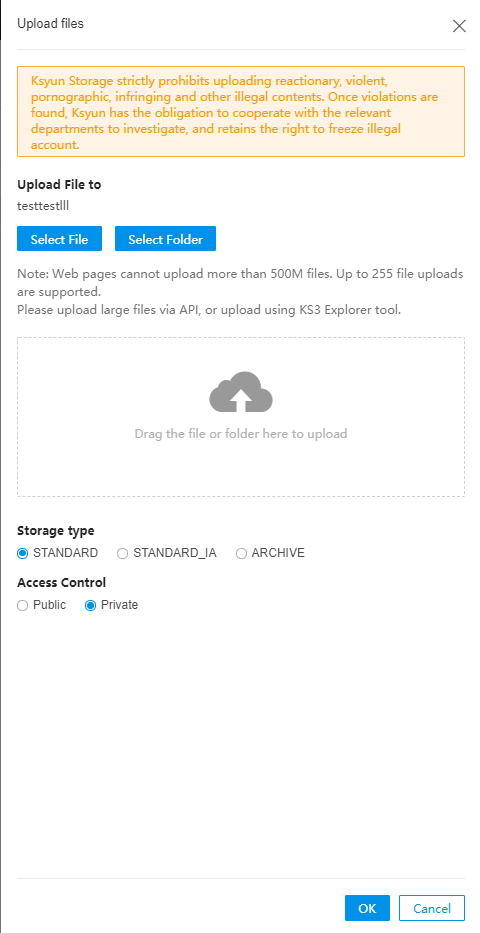
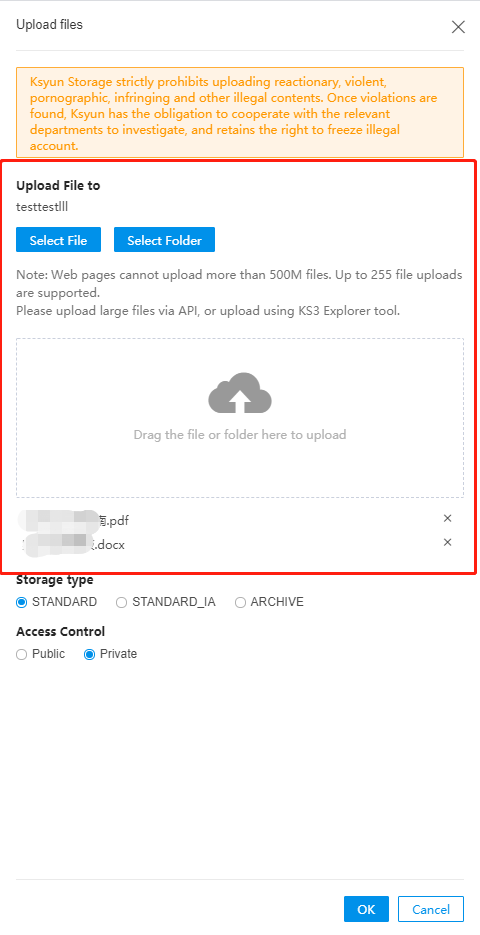
- Select one or more objects or folders, or drag them to the box as prompted.
-
Select the storage type.
For more information about storage types, see Storage types.
-
Select the access permission.
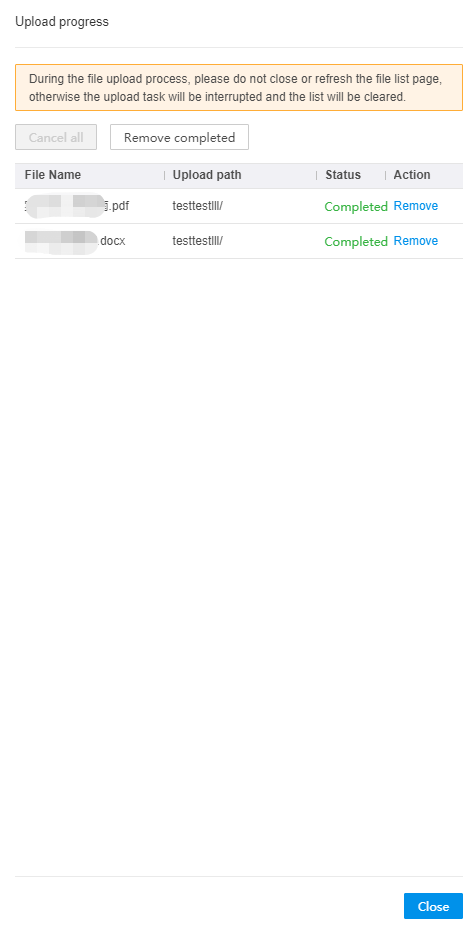
- Click OK to upload the objects.
Change the access permission
Change the access permission for a single object
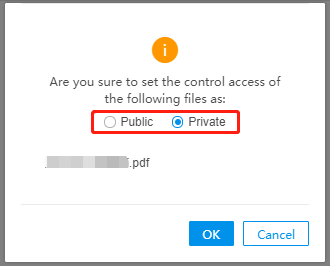
- On the Content Management tab, choose More > Set ACL in the Action column of the target object.
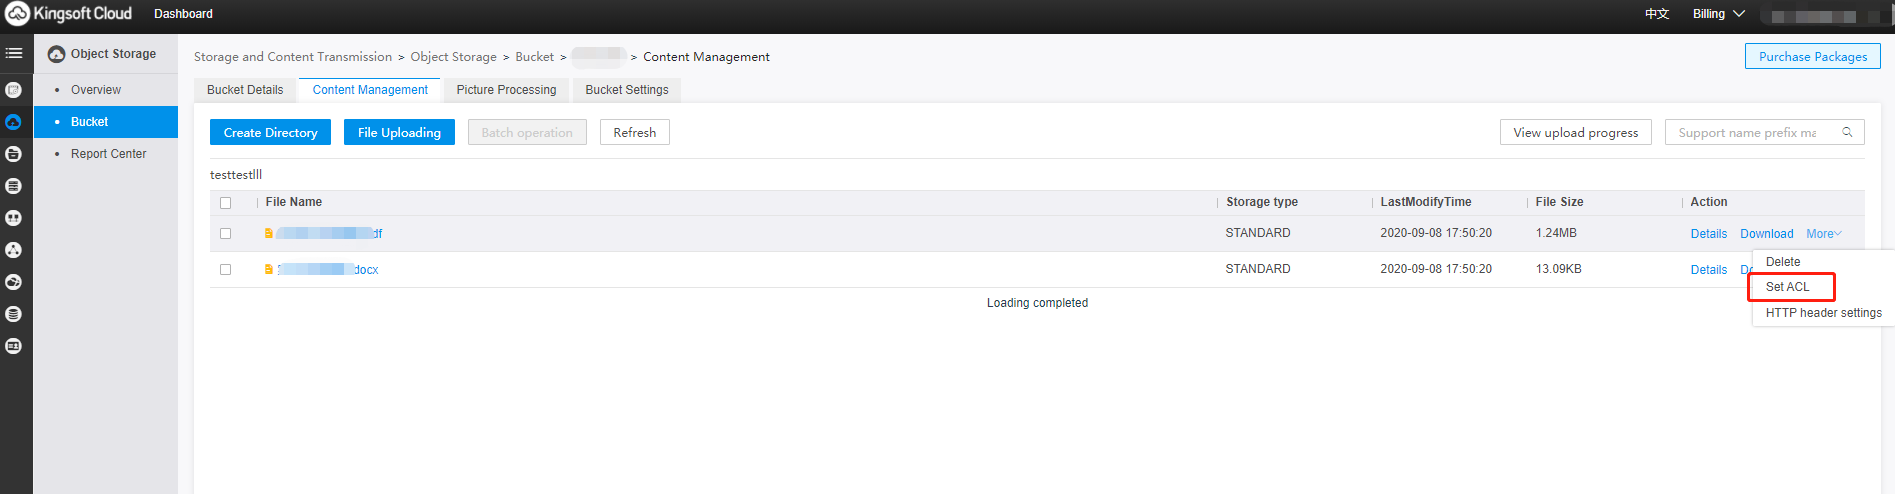
- In the dialog box that appears, select a permission type and click OK.
Change the access permission for multiple objects at a time
-
On the Content Management tab, select the target objects and choose Batch operation > Set ACL.
- In the dialog box that appears, select a permission type.
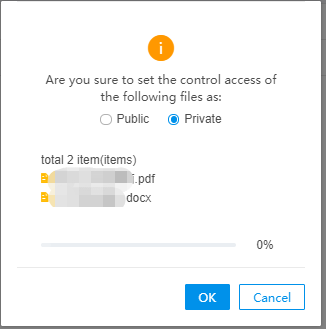
- Click OK. You can view the change progress in the dialog box.
Share objects
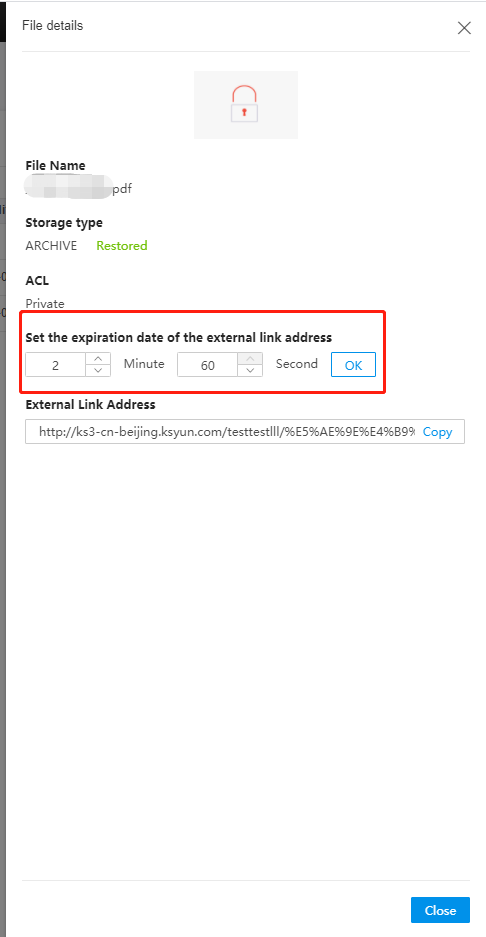
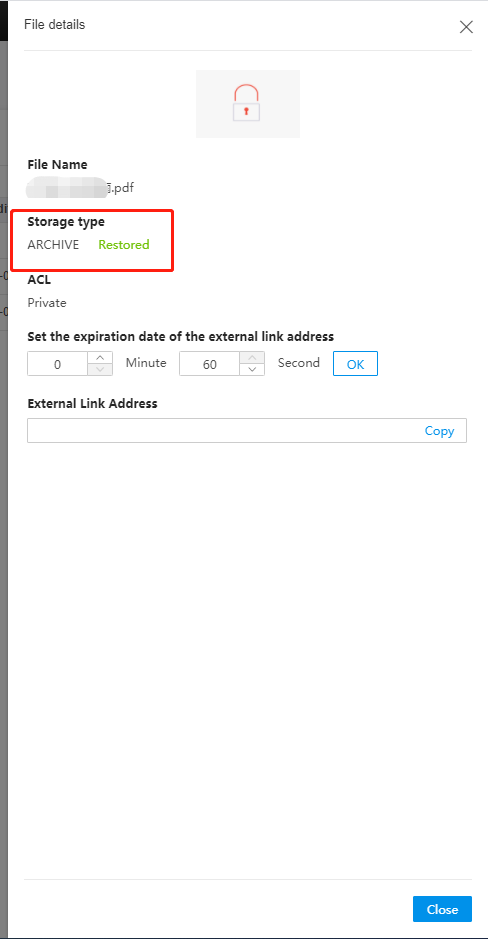
If you set the access permission of an object to Public when you upload the object, the external hyperlink of the object is available in the object details after the object is uploaded. You can use the external hyperlink to directly share the object. You can also share a private object by performing the following steps:
Procedure for temporarily sharing a private object
- On the Content Management tab, click the name of the target private object.

- In the File details pane, specify a period after which the external link expires and click OK. Then the external link appears in the External Link Address field.
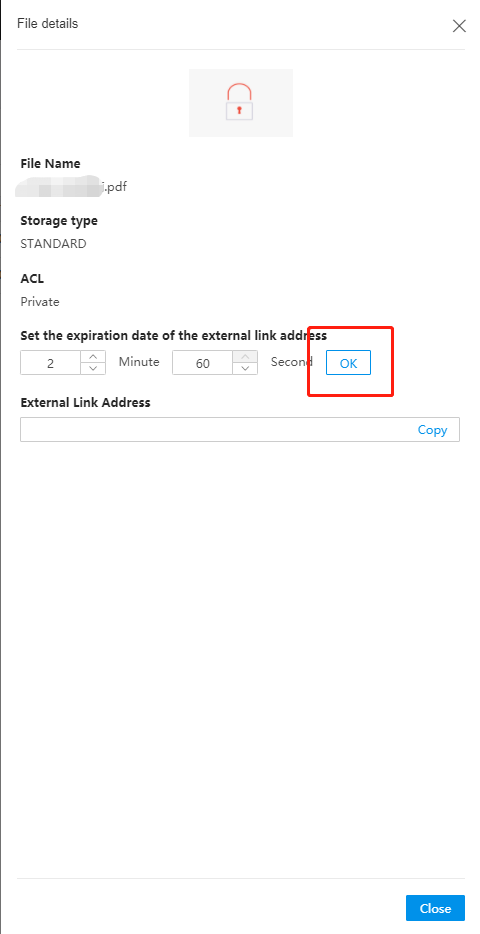
- Click Copy to copy the external link for sharing.
Download objects
Procedure
On the Content Management tab, click Download in the Action column of the target object.

Delete objects
Delete a single object
- On the Content Management tab, choose More > Delete in the Action column of the target object.

- In the dialog box that appears, click OK.
Delete multiple objects at a time
- On the Content Management tab, select the target objects and choose Batch operation > Delete.
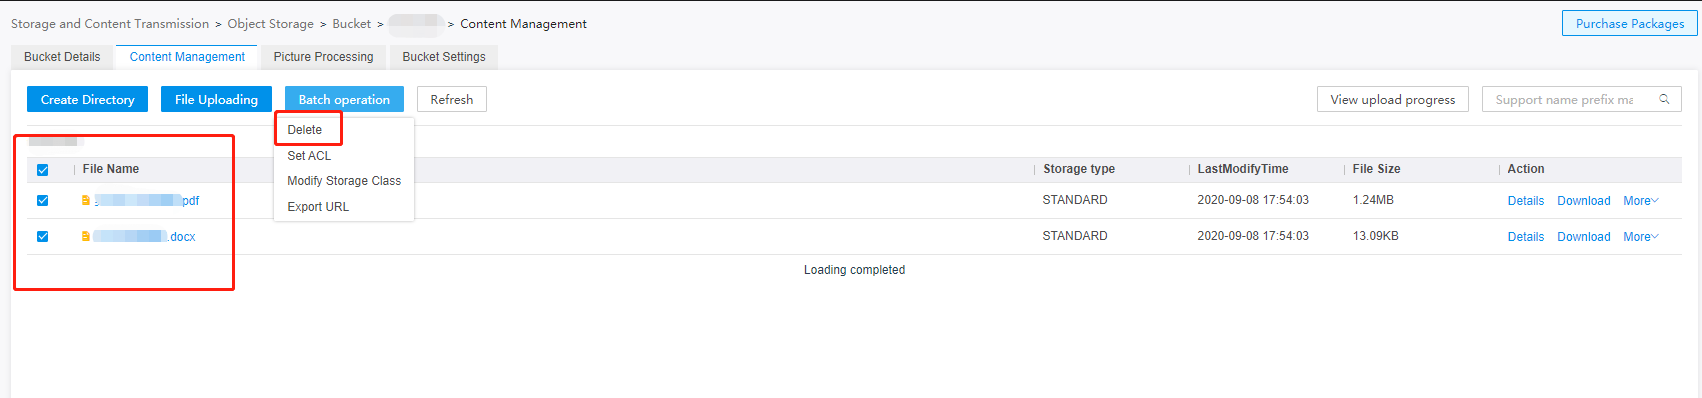
- In the dialog box that appears, click OK.
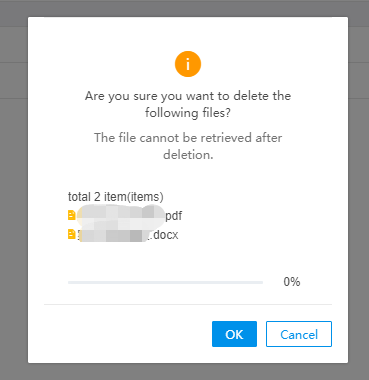
- View the deletion progress in the dialog box.
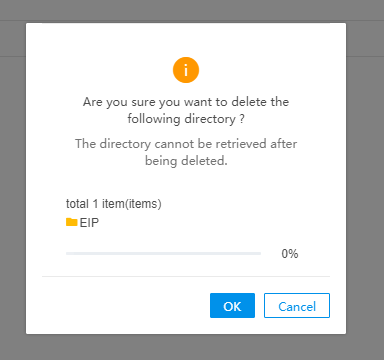
Delete a directory
Note
-
Only one directory can be deleted each time.
-
Directories and objects cannot be deleted at the same time.
- In the KS3 console, you can only delete directories that contain no more than 1,000 objects. To delete directories that contain more than 1,000 objects, you must use KS3 tools or KS3 SDKs.
To delete a directory, select the directory on the Content Management tab and choose Delete in the Action column. In the dialog box that appears, click OK. You can view the deletion progress in the dialog box.
Restore objects
Only archive objects need to be restored.
Objects uploaded to an archive bucket are saved as archive objects in the frozen state by default. To access such objects, restore them first.
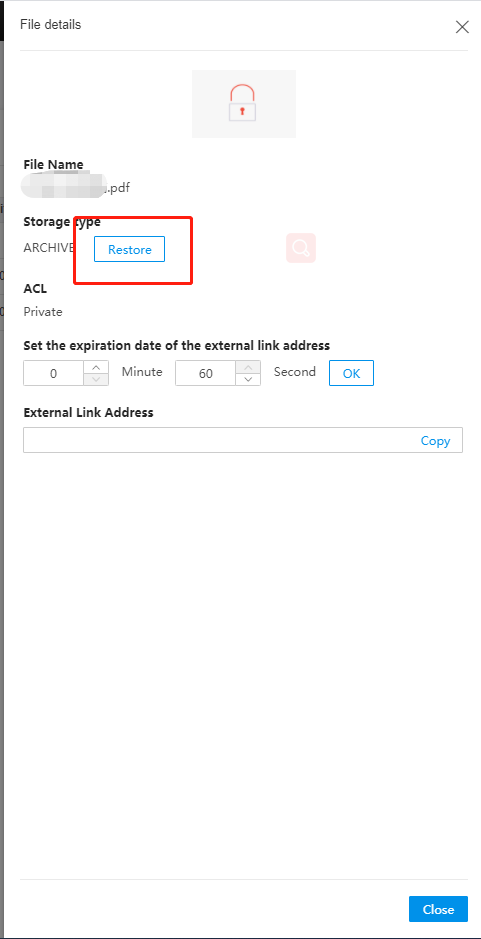
Procedure
- On the Content Management tab, click Details in the Action column of the target object.

- In the File details pane, click Restore.
- In the dialog box that appears, click OK.
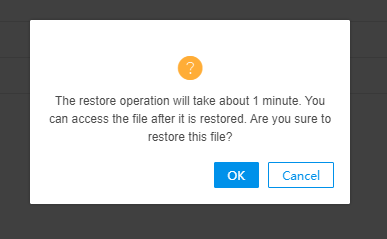
- The server starts to restore the object. The object status becomes restoring, which will last for 1 to 10 minutes.
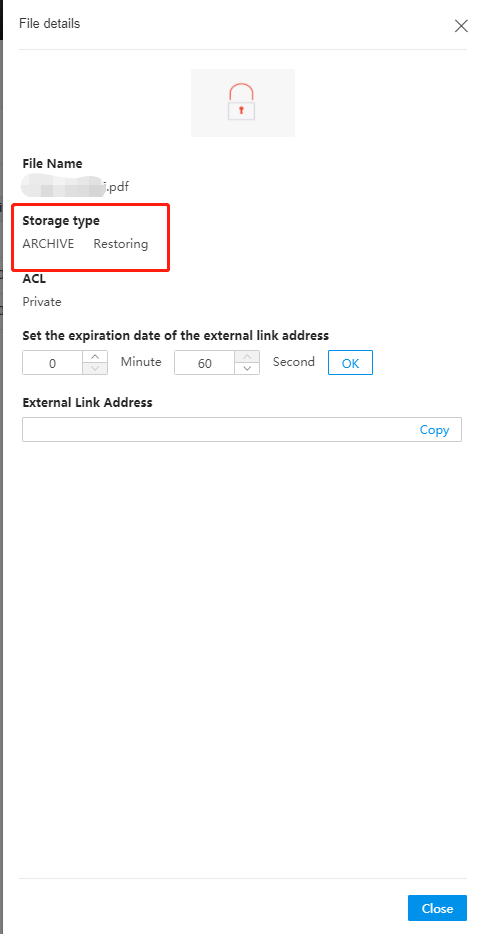
- After the restore is completed and the object status becomes restored, you can access the object. By default, the restored state lasts for 24 hours. Within the 24 hours, you can invoke the Restore Object API to prolong the period of the restored state. The default prolonged period is 24 hours and the maximum prolonged period is 7 days. After the period, the object returns the frozen state.
Change the storage type of objects
Procedure
- On the Content Management tab, select the target objects and choose Batch operation > Modify Storage Class.
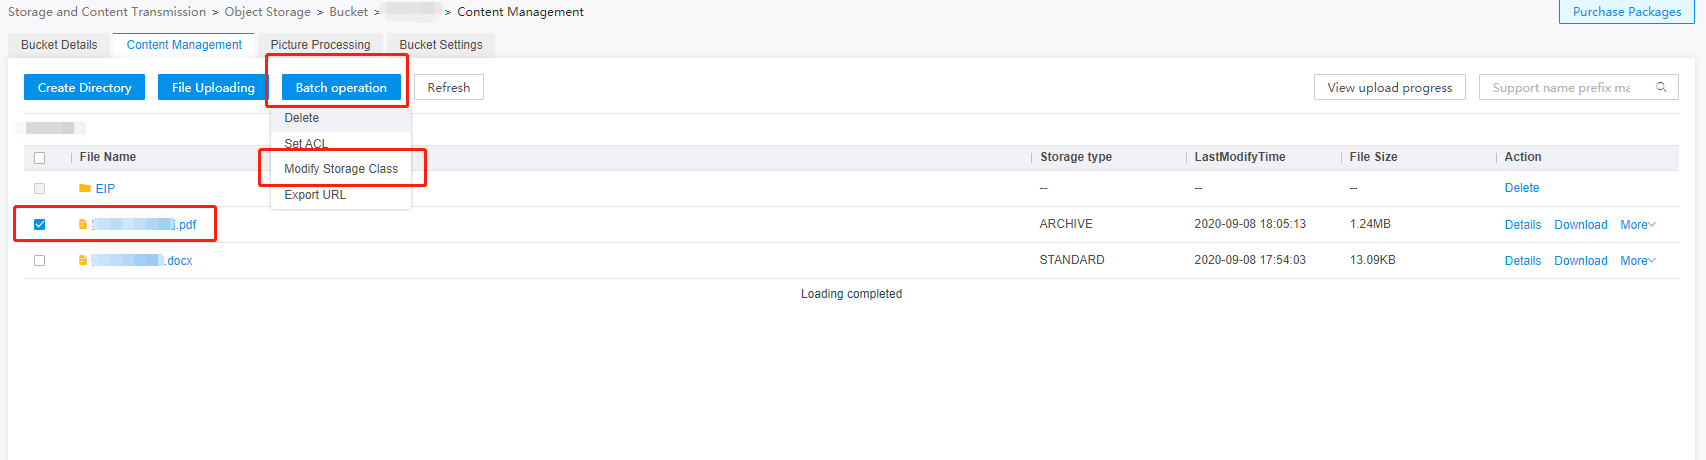
- In the dialog box that appears, select a storage type and click OK.
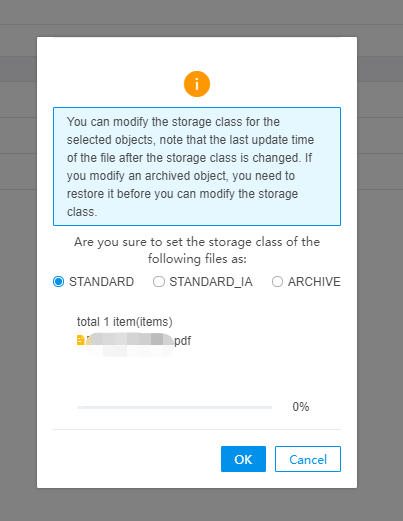
Note
When you change the storage type of an object, the object is saved as a new object of the target storage type and the original object is overwritten. If you change the storage type of an object of the low frequency or archive storage type and the storage duration is shorter than the specified minimum duration, you must pay the storage fees for the remaining days. For more information, see Billing method and measurement description.

