A cluster provides the basic cloud resources for running containers. Creating a cluster is the first step to use the KCE service. When you create a cluster, you can customize the configurations such as the number of KEC instances in the cluster, operating system, and data disks.
- Log in to the KCE console.
- In the left navigation pane, click Cluster.
- Click Create Cluster.
- In the Cluster Configuration step, set cluster parameters and click Next.
- Cluster Name: Enter a custom name of the cluster. The name must be 2 to 64 characters in length and can contain letters, digits, and the following special characters: - , . ! $ ^ * ( ) % # & + / : ; < = > [ ] _ ` { | } ~.
- Kubernetes Version: Select the Kubernetes version of the cluster. Valid values: 1.15.5, 1.17.6, and 1.19.3.
- VPC: Select the VPC where the cluster resides.
- Endpoint Subnet: Select the endpoint subnet that is used to create a private SLB instance for the communication between master and worker nodes in the cluster.
- Pod CIDR: Specify the Classless Inter-Domain Routing (CIDR) block from which IP addresses are assigned to pods in the cluster. You can customize three private CIDR blocks and use them as the pod CIDR block.
- Service CIDR: Specify the CIDR block from which IP addresses are assigned to Services in the cluster. You can customize three private CIDR blocks and use them as the Service CIDR block.
- Network Plug-in: Select the network plug-in for the cluster. Valid values: Flannel and Canal.
- Description: Enter the description of the cluster.
- In the Node Configuration step, set node parameters and click Next.
- Billing Mode: Select the billing mode of nodes. Valid values: Subscription, Pay-By-Daily-Config, and Pay-As-You-Go.
- Node Type: Select the type of nodes. Valid values: Common KEC Instance and Dedicated KEC Instance.
- Master&Etcd:
- Availability Zone: Select the availability zone where nodes are deployed.
- Node Network: Select the subnet in the VPC where nodes reside.
- Instance Type: Select the instance type of nodes.
- Image: Select the image used by nodes. KCE supports images of CentOS-7.6 64-bit, Debian-8.2 64-bit, and Ubuntu-18.04 64-bit.
- System Disk: Set the size of the system disk. A solid-state drive (SSD) is supported. 50 GB is provided for free.
- Data Disk: Set the size of the data disk. An SSD is supported.
- Quantity: Set the number of nodes. You must deploy three or five master nodes. Master nodes can be deployed across availability zones.
- Worker Instance: Set the parameters based on the description for Master&Etcd.
- Security Group: Specify the security group for the nodes in the cluster. For more information about recommended settings of the security group, see Recommended security group settings.
- (Optional) Advanced Settings: Set the following parameters as required:
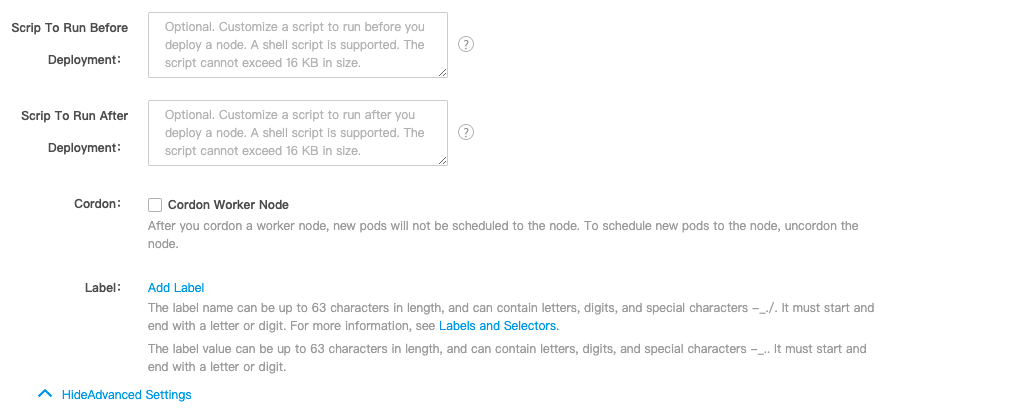
- Scrip to Run Before Deployment: Specify custom data to configure the node, namely, specify the script to run before you deploy the node. You must ensure the reentrancy and retry logic of the script. You can view the script and its log files in the /usr/local/ksyun/kce/pre_userscript directory of the node.
- Scrip to Run After Deployment: Specify custom data to configure the node, namely, specify the script to run after you deploy the node. You must ensure the reentrancy and retry logic of the script. You can view the script and its log files in the /usr/local/ksyun/kce/userscript directory of the node.
- Cordon: Specify whether to cordon a worker node as required. After you cordon a worker node, new pods will not be scheduled to the node. To schedule new pods to the node, uncordon the node. For more information, see Cordon or drain a node.
- Label: Customize a label as required.
- In the Set Basic Information step, set basic parameters and click Next.
- Project: Specify the project for the resources you purchase.
- Server Name: Enter a custom name of the server. The name must be 2 to 64 characters in length and can contain letters, digits, and the following special characters: - , . ! $ ^ * ( ) % # & + / : ; < = > [ ] _ ` { | } ~.
- Login Mode: Set the login mode. Valid values: Password and Key.
- Click Create to create the cluster. The cluster appears in the cluster list.

