This topic describes how to manage file systems in the KFS console. After you create file systems, you can view and manage the file systems in the KFS console. For example, you can view the status, used capacity, protocol, and details such as the mount target of each file system.
View the status and used capacity of a file system
- Log in to the KFS console and click File System in the left navigation pane. All created file systems are displayed on the File System page. You can view the status and used capacity of the file systems.
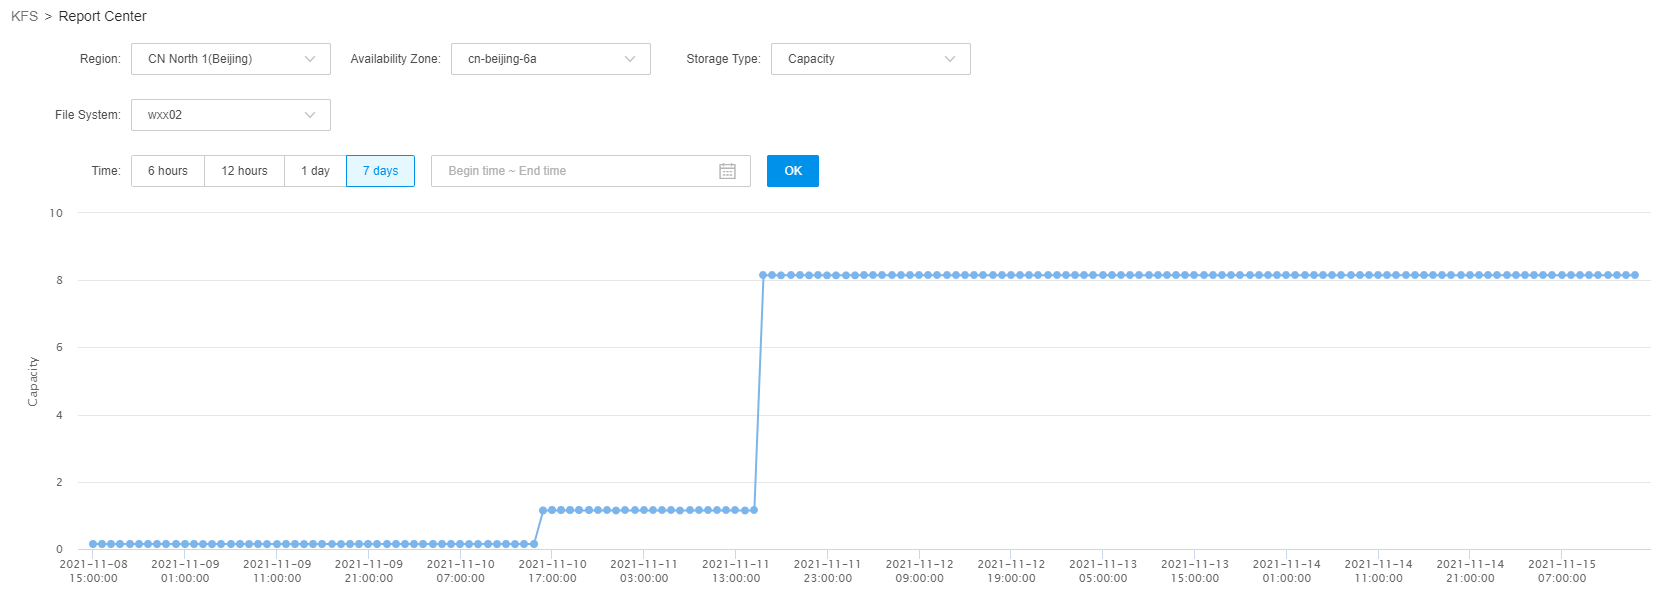
- Click Report Center in the left navigation pane. On the Report Center page, select a file system and view its historical usage.

View details of a file system
- Log in to the KFS console and click File System in the left navigation pane.
- On the File System page, click the name of the file system that you want to view.
-
On the Details page, view the basic information and mount target information of the file system, and manage the mount target.
- Basic information: You can view the instance ID, status, data center, availability zone, protocol, name, storage type, creation time, and used capacity of the file system.
- Mount target information: You can view the IP address of the mount target, VPC, endpoint subnet, creation time, and recommended mount command.
Change the name of a file system
- Log in to the KFS console and click File System in the left navigation pane.
- Move the pointer over the name of the file system that you want to modify and click the
 icon.
icon.
- Enter a new name and press Enter.
Delete a file system
- Log in to the KFS console and click File System in the left navigation pane.
- Find the file system that you want to delete and click Delete in the Operation column.
- In the message that appears, click OK.
Note
To prevent impacts on clients, you must disconnect the file system from all clients before you delete the file system.

